Getting started
Falcon magento module should be installed over preinstalled magento instance. In case you don't have magento installed yet please checkout Magento install guide.
Using our example project, demo-v1 you will have Magento 2 support without having to do any custom dev.
1. Configure composer repository
To install falcon magento module you will need a repository-url and token. You should get this data from our team after signing up.
Run the following command in your magento instance:
composer config --global --auth http-basic.deity.repo.packagist.com token `token`
Afterwards update you composer.json file with following data
"repositories": [
    {"type": "composer", "url": "repository-url"}
]
2. Install Falcon Magento module
Run the following composer command
composer require deity/falcon-magento ^5.4.0
After package installed, install falcon module into your magento with
bin/magento setup:upgrade
and flush magento cache
bin/magento cache:flush
3. Create an integration within Magento.
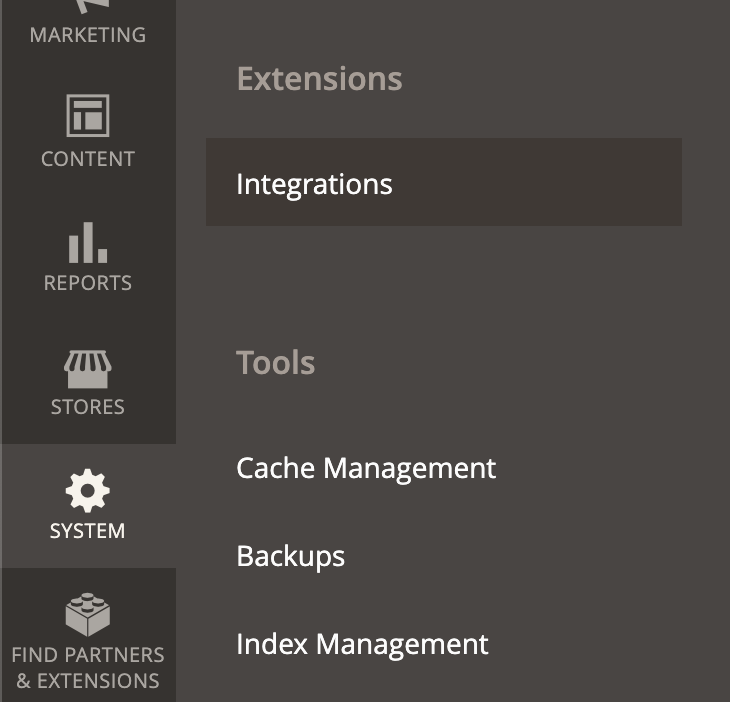
From the admin (system->integrations) you can create a new integration.

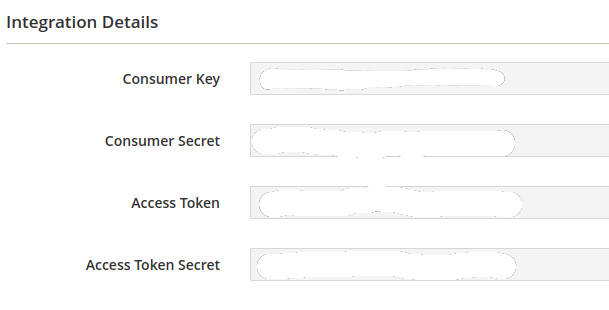
From here you will get the following credentials to use later:

CONSUMER_KEYCONSUMER_SECRETACCESS_TOKENACCESS_TOKEN_SECRET
4. Create your Falcon App.
Install Falcon Platform using the demo-v1 example and create-falcon-app
5. Configure your Magento connection
Add your Magento 2 details to your server/config/ files. Below is an example of the config variables you'll need to add.
If you're using demo-v1 this will be set up to use our demo Magento 2 instance and should work out of the box.
{
  "endpoints": {
    "magento": {
      "config": {
        "host": "MAGENTO_HOST"
      }
    }
  },
  "apis": {
    "magento2": {
      "config": {
        "host": "MAGENTO_HOST",
        "defaultLocale": "MAGENTO_DEFAULT_LOCALE",
        "itemUrlSuffix": "MAGENTO_URL_SUFFIX",
        "auth": {
          "consumerKey": "MAGENTO_CONSUMER_KEY",
          "consumerSecret": "MAGENTO_CONSUMER_SECRET",
          "accessToken": "MAGENTO_ACCESS_TOKEN",
          "accessTokenSecret": "MAGENTO_ACCESS_TOKEN_SECRET"
        }
      }
    }
  }
}
Deity Cloud Environment Variables
MAGENTO_HOST: Your Magento site URL (without protocol) e.g.magento.deity.ioMAGENTO_CONSUMER_KEY: your consumer keyMAGENTO_CONSUMER_SECRET: your consumer secretMAGENTO_ACCESS_TOKEN: your access tokenMAGENTO_ACCESS_TOKEN_SECRET: your access token secretMAGENTO_DEFAULT_LOCALE: default locale for your Magento store. e.g.en_GBMAGENTO_URL_SUFFIX: Your suffix for products and categories. e.g..html. Defaults tonull.
6. Update magento configuration
When your falcon instance is up and running its important to update magento with falcon instance data
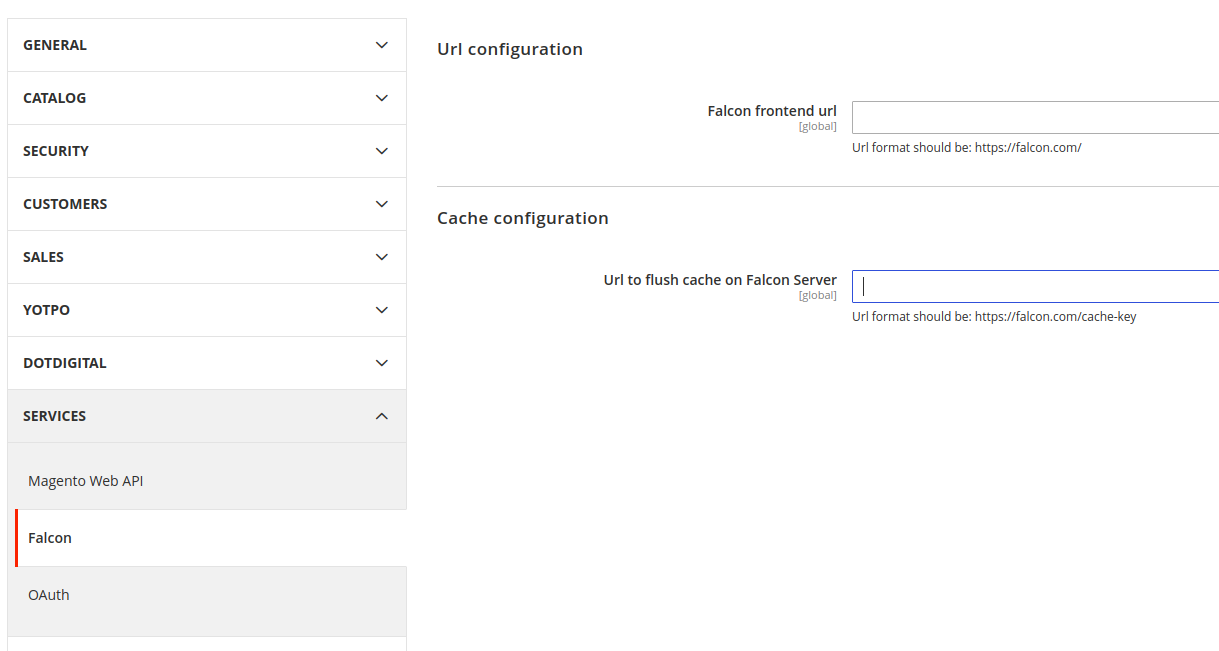
Go to Magento admin Stores->Configuration
On Configuration page open Services->Falcon

Enter your falcon domain to Falcon frontend url, and cache webhook url to Url to flush cache on Falcon Server.
7. Configure Deity Payment Gateway
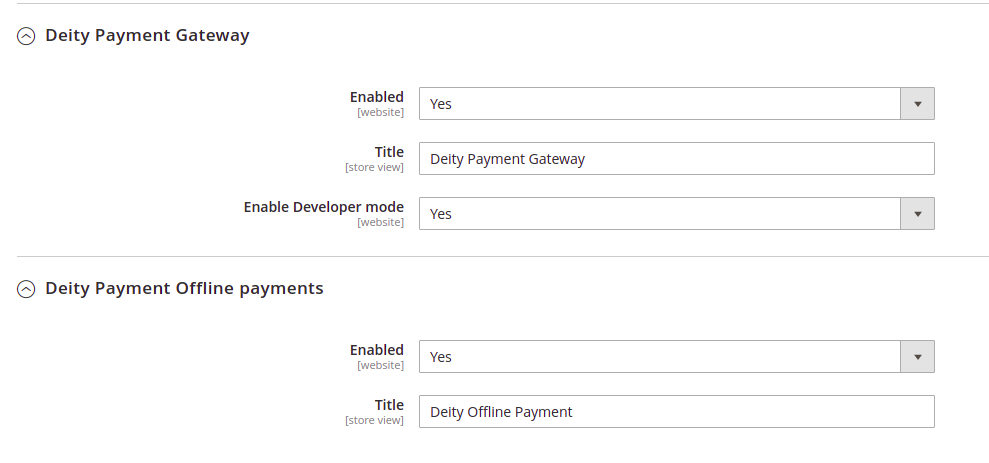
To configure Deity Payment Gateway go to Magento admin Stores->Configuration and select Sales -> Payment Methods section

If your shop does not support offline payments (like Cash on Delivery) you can disable Deity Offline Payments on this page.
8. Disable your Magento frontend
Since Falcon magento module version 5.4.0 disable magento frontend function is included into the module core. To disable magento frontend from cli run
php bin/magento config:set admin/deity_disable_frontend/block_frontend_access 1
Or go to magento admin config area
Stores > Configuration > Advanced > Admin > Disable Frontend
Flush cache after changing config.
9. Complete
Complete, you should now have a fully working Magento 2 / Falcon Platform site